Some examples of getting things bright again 🙂
For me, there are mainly three different methods:
- liquid H2O2 with UV light
- creamy H2O2 with UV light
- creamy H2O2 with activator component and therefore no UV light
It takes some experience with all the different plastics to find out what works and what doesn’t with a specific item. Plastics are not all the same and they will react differently to different treatments.
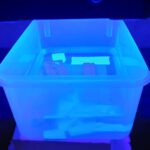
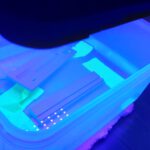
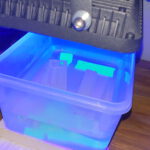
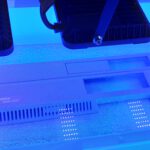
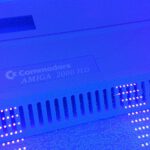
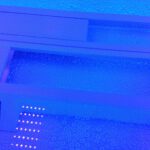
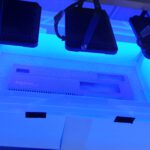
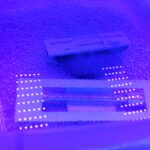
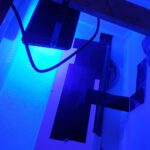
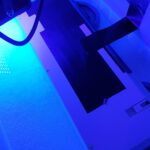
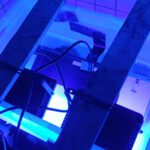
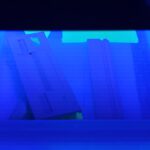
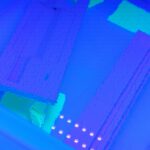
After days of try & error and some frustration, my favorite method is the liquid H2O2 with UV lights. It provides the most even result. Parts are submerged in a transparent container. You can always put some white paper around the container at the sides and under it for reflecting as much of the UV light as possible back into the container and to all areas of the plastic all around it. The parts must be either taped down [some duct tapes still stick underwater] or otherwise held down as they tend to float after 10 minutes. If one half comes out of the liquid and the other half stays underwater, the result will be devastating. Guess how I know.
If it is a front bezel for example which has screw holes in it, you can always use a thin wire and screw it to the faceplate from the back and then put a heavy metal object on the wire to keep it all submerged. Do not use the original screws as the H2O2 will corrode them. Do not use your best wrench as weight either.
For that matter: Metal or painted badges [like the ones used with the C= PC line like 286SX, 386DX, 486SX and so on] will suffer. If you cannot safely remove them, do not bleach the part. It is not worth it, risking the bagde. Also the badges of the old C= PC line like PC 10, 20, 30, 35, 40, and 45 will suffer. Not all of them, but it may happen, especially if you leave the part in the H2O2 for too long. Guess how I know.
That said, dark plastic parts like from a PC 10-III or an Amiga 2000 may suffer from retrobrighting. By now I do not bleach the dark plastics anymore, only the bright ones. Too risky for my taste. Dark plastics may get spots and streaks.
If you removed old stickers from the platic part, and it is not yellowed under the sticker, be careful. In my experience the yellowed parts often become bright again and the area which was under the sticker becomes dark. Looks worse than before then. I do not know why, maybe the glue from the sticker altered the plastic somehow.
So be careful when there were stickers on the part. Do not leave it unattended, check constantly.
Also keep in mind that the bleaching reaction may go on for some time even after rinsing the part with water.
Better take it out of the solution, rinse it, let it dry and check after several hours. Better to remove it too early than too late. The H2O2 can still be used on the next day, as long as bubbles start appearing on the plastic, it is still working. Even if not, better to use some fresh H2O2 than to have ruined a part.
For the “liquid H2O2 with UV light” method I mix around one part of H2O2 with around three parts of warm/hot water and see what happens. Some plastics react very fast and are done after 10 minutes [in my experience for example 5,25″ floppy bezels], others may need over night or even a stronger mixing ratio with less water plus over night [in my experience some A3000/A4000 keyboards]. But always start with a weak ratio and check how the plastic reacts. My experiences may differ from yours.
Always start slow and stay there, check after five minutes. Use a reference plastic part with the same yellowing if possible to check the progress. Otherwise you risk over-bleaching the part which may then be ruined. Sometimes they can then be saved by leaving them in diesel fuel for some days, but you should not risk over-bleaching in the first place which can happen really fast with some parts.
Soaking in diesel fuel for some days can also rejuvenate some plastic parts which have become brittle over time. Not always of course, there are so many different plastics, but sometimes it works wonders.